

Hey there! As a supplier of HGR Linear Guides, I've seen firsthand how crucial proper installation and alignment are for these guides to perform at their best. In this blog, I'm gonna walk you through the steps on how to align HGR Linear Guides during installation.
Why Alignment Matters
Before we dive into the alignment process, let's quickly talk about why it's so important. When your HGR Linear Guides are properly aligned, they can operate smoothly, reduce wear and tear, and increase the overall lifespan of the system. Misaligned guides can lead to all sorts of problems, like uneven loading, increased friction, and even premature failure. So, taking the time to align them correctly is definitely worth it.
Tools You'll Need
First things first, let's gather the tools you'll need for this job. Here's a basic list:
- Straightedge: This will help you check the straightness of the guide rails.
- Dial indicator: It's used to measure small distances and ensure precise alignment.
- Torque wrench: To tighten the bolts to the correct torque specification.
- Cleaning supplies: Like a degreaser and a clean cloth to clean the mounting surface and the guide rails.
Step 1: Prepare the Mounting Surface
The first step is to make sure the mounting surface is clean and flat. Any dirt, debris, or unevenness can affect the alignment of the guide rails. Use a degreaser and a clean cloth to wipe down the surface thoroughly. Check for any bumps or scratches, and if you find any, use a file or sandpaper to smooth them out.

Step 2: Install the First Guide Rail
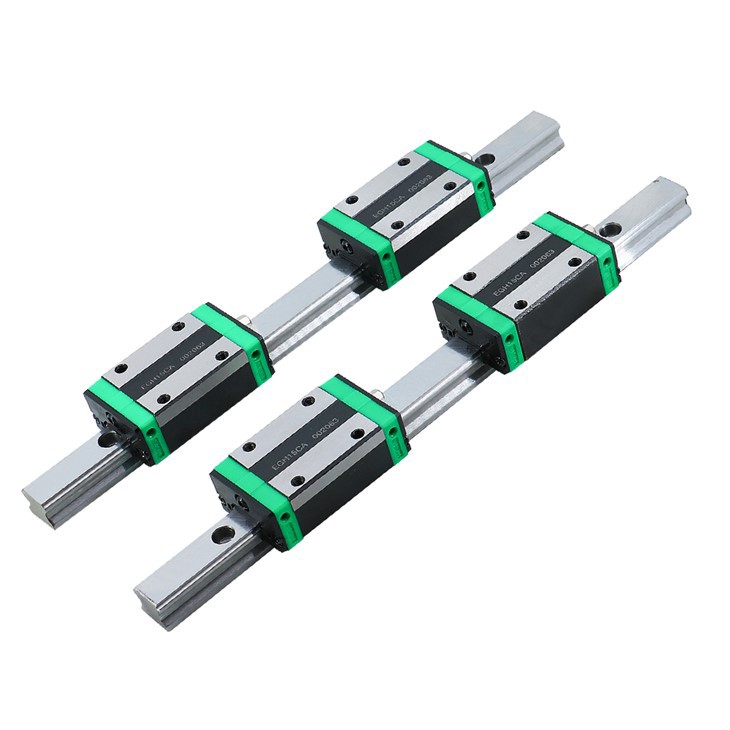
Now it's time to install the first guide rail. Place the rail on the mounting surface and align it as best you can by eye. Make sure it's parallel to the reference edge or other components in the system. Use a few bolts to temporarily secure the rail in place, but don't tighten them all the way yet.
Step 3: Check the Straightness
Once the first rail is in place, it's time to check its straightness. Use a straightedge and a dial indicator to measure the deviation from a straight line. Place the straightedge along the length of the rail and move the dial indicator across it. Take readings at several points along the rail and note any variations. If the rail is not straight, you may need to adjust its position or use shims to correct the alignment.
Step 4: Tighten the Bolts
After you've checked the straightness and made any necessary adjustments, it's time to tighten the bolts. Use a torque wrench to tighten the bolts to the correct torque specification. This is important because over-tightening or under-tightening the bolts can affect the alignment and performance of the guide rail.
Step 5: Install the Second Guide Rail
Now that the first guide rail is installed and aligned, it's time to install the second one. Place the second rail on the mounting surface and align it parallel to the first rail. You can use a spacer or a feeler gauge to ensure the correct distance between the two rails. Again, use a few bolts to temporarily secure the rail in place and check its straightness using a straightedge and a dial indicator.
Step 6: Check the Parallelism
Once both guide rails are installed, it's important to check their parallelism. Use a dial indicator to measure the distance between the two rails at several points along their length. If the distance varies, you may need to adjust the position of one or both rails to ensure they are parallel.
Step 7: Final Checks
After you've completed all the alignment steps, it's a good idea to do a final check. Move a carriage or other component along the guide rails and observe its movement. Make sure it moves smoothly and without any binding or resistance. If you notice any issues, go back and double-check the alignment.
Tips and Tricks
- When using a dial indicator, make sure it's properly calibrated and zeroed before taking any measurements.
- Use a soft mallet or a rubber hammer to gently tap the guide rails into position if needed. Avoid using a hard hammer, as it can damage the rails.
- If you're working with long guide rails, it may be helpful to use additional supports or fixtures to prevent them from sagging or bending during installation.
Related Products
If you're interested in other types of linear guides, we also offer EGR Guide, MGN Linear Rail, and SBR Support Rail. These products are designed to meet different application requirements and offer high performance and reliability.
Contact Us for Purchasing
If you have any questions about HGR Linear Guides or need help with the installation and alignment process, don't hesitate to contact us. We're here to provide you with the best products and services. Whether you're a small business or a large industrial manufacturer, we can offer you the right solutions for your needs. Let's start a conversation and see how we can work together to meet your linear guide requirements.
References
- "Linear Guide Installation and Maintenance Manual" - Industry standard guide for linear guide installation
- "Precision Alignment Techniques in Mechanical Systems" - Academic paper on alignment methods in mechanical engineering


