Servo motors are crucial components in a wide range of applications, from robotics and automation to industrial machinery and hobbyist projects. Accurate calibration of a servo motor is essential to ensure its optimal performance, precision, and reliability. As a trusted servo motor supplier, I understand the significance of proper calibration and am here to guide you through the process.
Understanding Servo Motors
Before delving into the calibration process, it's important to have a basic understanding of how servo motors work. A servo motor consists of a DC motor, a control circuit, and a feedback mechanism. The control circuit receives a control signal, typically in the form of a pulse width modulation (PWM) signal, which determines the desired position of the motor shaft. The feedback mechanism, usually a potentiometer or an encoder, provides information about the actual position of the shaft. The control circuit compares the desired position with the actual position and adjusts the motor's speed and direction accordingly to minimize the error.
Tools Required for Calibration
To calibrate a servo motor, you'll need the following tools:
- Servo tester or microcontroller: A servo tester is a dedicated device that allows you to send control signals to the servo motor and adjust its position manually. Alternatively, you can use a microcontroller, such as an Arduino or a Raspberry Pi, to generate the control signals.
- Power supply: Servo motors typically require a power supply of 4.8V to 6V. Make sure to use a stable power supply to avoid fluctuations that could affect the calibration process.
- Multimeter: A multimeter is used to measure the voltage and current of the servo motor. This can help you diagnose any electrical issues and ensure that the motor is operating within its specifications.
- Screwdriver: You may need a screwdriver to adjust the trim potentiometers on the servo motor, which are used to fine-tune its position.
Calibration Steps
The calibration process for a servo motor can be divided into the following steps:
Step 1: Mount the Servo Motor
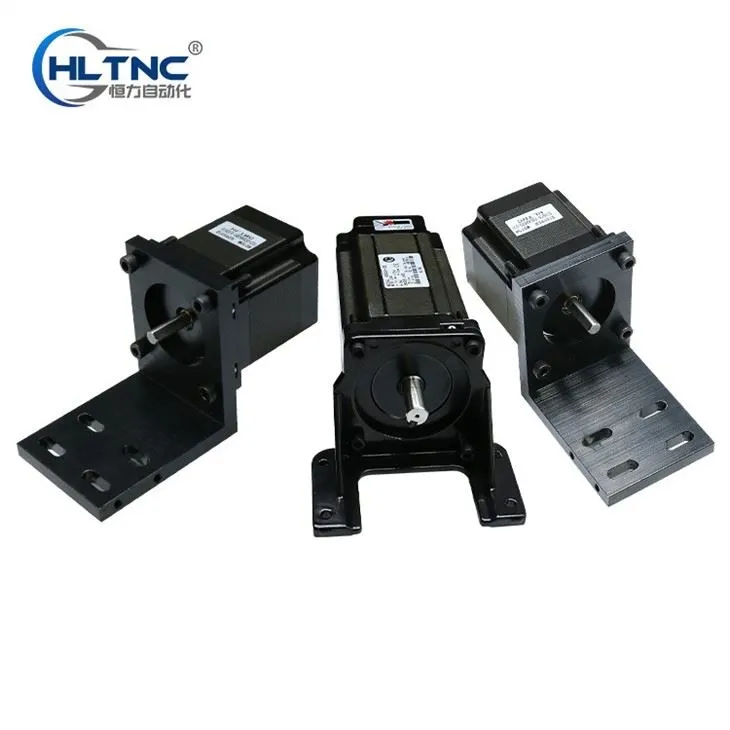
First, mount the servo motor securely in the desired location. Make sure that the motor is properly aligned and that there is no excessive play in the mounting brackets. You can find suitable mounting brackets, such as the Stepper Motor Bracket, to ensure a stable installation.

Step 2: Connect the Power Supply and Control Signal
Connect the power supply to the servo motor, making sure to observe the correct polarity. Then, connect the control signal wire to the servo tester or microcontroller. If you're using a servo tester, turn it on and set the output signal to the center position, which is typically a pulse width of 1.5 milliseconds.
Step 3: Check the Initial Position
With the control signal set to the center position, check the position of the servo motor shaft. It should be at the middle of its range of motion. If the shaft is not centered, you can use the trim potentiometers on the servo motor to adjust its position. These potentiometers are usually labeled "center," "trim," or "offset." Use a small screwdriver to turn the potentiometers clockwise or counterclockwise until the shaft is centered.
Step 4: Determine the Minimum and Maximum Pulse Widths
To determine the minimum and maximum pulse widths that the servo motor can accept, gradually increase or decrease the pulse width from the center position using the servo tester or microcontroller. Observe the movement of the servo motor shaft. The minimum pulse width corresponds to the position where the shaft reaches its extreme counterclockwise position, while the maximum pulse width corresponds to the position where the shaft reaches its extreme clockwise position.
Step 5: Set the Range of Motion
Once you've determined the minimum and maximum pulse widths, you can set the range of motion of the servo motor. This can be done by adjusting the limits of the control signal. For example, if the minimum pulse width is 1.0 milliseconds and the maximum pulse width is 2.0 milliseconds, you can set the control signal to vary between these two values to achieve the full range of motion of the servo motor.
Step 6: Fine-Tune the Calibration
After setting the range of motion, you may need to fine-tune the calibration to ensure that the servo motor moves smoothly and accurately. This can be done by adjusting the trim potentiometers again to eliminate any small errors or inconsistencies in the motor's movement. You can also use a multimeter to measure the voltage and current of the servo motor during operation to ensure that it is operating within its specifications.
Special Considerations for Different Types of Servo Motors
There are different types of servo motors available, each with its own unique characteristics and calibration requirements. Here are some special considerations for calibrating different types of servo motors:
Continuous Rotation Servo
A Continuous Rotation Servo is a type of servo motor that can rotate continuously in either direction, rather than being limited to a specific range of motion. To calibrate a continuous rotation servo, you'll need to determine the pulse widths that correspond to the minimum and maximum speeds of rotation. This can be done by gradually increasing or decreasing the pulse width from the center position and observing the speed of the motor. Once you've determined the minimum and maximum pulse widths, you can set the control signal to vary between these two values to control the speed and direction of the motor.
Nema 17 Stepper Motor Driver
A Nema 17 Stepper Motor Driver is used to control a Nema 17 stepper motor, which is a type of motor that moves in discrete steps. To calibrate a Nema 17 stepper motor driver, you'll need to set the correct current limit and microstepping mode. The current limit determines the amount of current that the driver can supply to the motor, while the microstepping mode determines the number of steps that the motor takes per revolution. You can refer to the manufacturer's documentation for specific instructions on how to set these parameters.
Troubleshooting Tips
If you encounter any issues during the calibration process, here are some troubleshooting tips to help you resolve them:
- Motor not moving: Check the power supply and make sure that the motor is receiving the correct voltage. Also, check the control signal wire and make sure that it is properly connected.
- Motor moving erratically: This could be due to a loose connection, a faulty control signal, or a problem with the motor itself. Check all the connections and make sure that they are secure. You can also try using a different control signal source or a different servo motor.
- Motor overheating: This could be due to a high current draw or a problem with the motor's internal components. Check the current limit setting on the driver and make sure that it is not set too high. You can also try reducing the load on the motor or using a larger motor.
Conclusion
Calibrating a servo motor is a crucial step in ensuring its optimal performance and reliability. By following the steps outlined in this blog post and using the appropriate tools and techniques, you can calibrate your servo motor accurately and achieve the desired results. As a servo motor supplier, we are committed to providing high-quality products and excellent customer service. If you have any questions or need further assistance with servo motor calibration or any other aspect of servo motor technology, please don't hesitate to contact us. We look forward to discussing your specific requirements and helping you find the right solutions for your applications.
References
- Servo Motor Handbook, Manufacturer's Manual
- Robotics and Automation Textbooks
- Online Resources on Servo Motor Technology


